Using PrControl
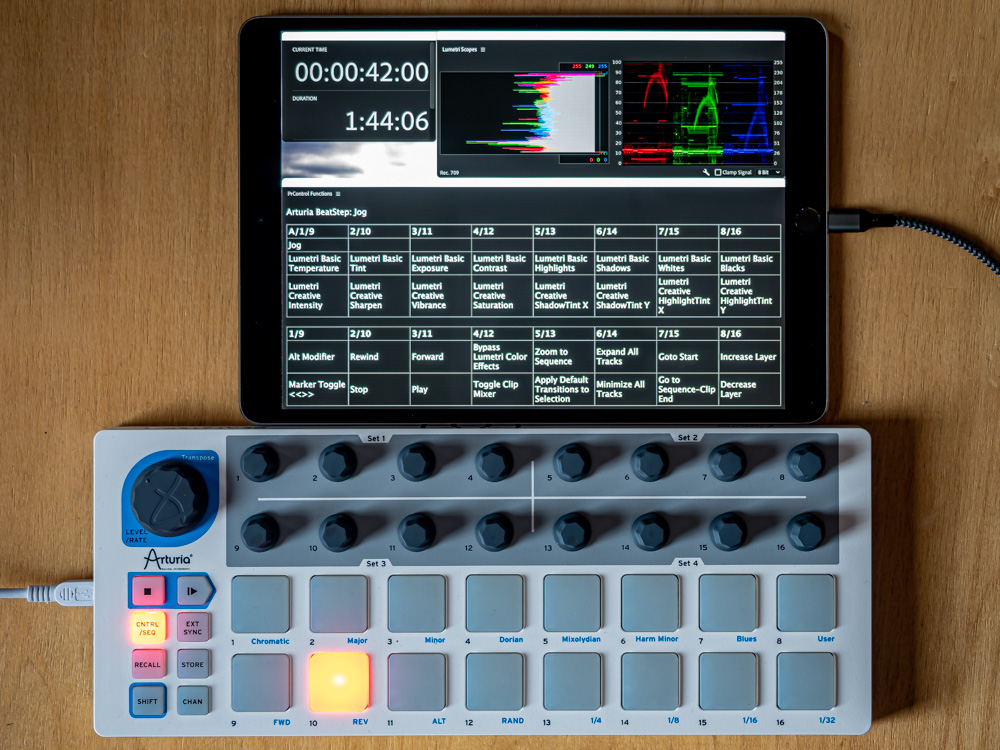
Once PrControl is loaded, it will run in the background and process MIDI messages from your controller. It will send commands to Premiere Pro in response to the MIDI messages received. To view the current functions, you can use the PrControl Extension Panel, or the displays on your controller, if it has displays.
To adjust what PrControl does, open the PrControl Settings.
PrControl Settings
The PrControl setup dialog can be opened from the Premiere Pro Control Surface Preferences. If PrControl has been loaded, select PrControl and then click the Edit button. A Configure Control Surface dialog appears, in this dialog click the Settings... button. This opens the PrControl Settings dialog. In this dialog you see a list of available MIDI controllers. You can set options for each controller. Use the Assign button to change the functions of buttons, sliders and encoders on your controller.
Switching Premiere Pro Projects
When you want to start working on a different project, try opening the new project without first closing the current project. If you close the project while PrControl is active, PrControl is shut down and needs to restart when you open another project.
On the Mac you must restart Premiere Pro after closing a project. The MIDI system used to connect to MIDI controllers cannot be restarted while Premiere Pro is running. Once you restart Premiere Pro, PrControl can use MIDI again.
PrControl Extension Panel
Open the PrControl Functions panel to view the functions of the controls. The panel starts working as soon as the PrControl control surface plug-in has been loaded. Try pushing a button on the controller. You should see the function appear in the panel.

Panel Content
The panel shows the last function send from the controller, including the value of the parameter. Below that are tables showing the controller functions. When you change the functions, the panel updates automatically. For example when you change the layer, or assign a new function to a control.

Resizing the Panel
When you make the panel narrow, you will automatically see abbreviations of the functions. If there is more content than fits in the panel, you can scroll the panel vertically.

Extra Display
If you have an extra display, you can use it to show the reference panel. For example, if you have a small video monitor, you can attach it to your computer and show the reference panel on it. If the extra screen is small enough, you can put it next to your controller.
You can also use a tablet as an extra display. If you have a recent iPad and a Mac, you can use Sidecar to show the panel on the iPad. You can also use an app on your tablet to turn it into an extra display. Some examples: Duet Display, TwomonUSB, Splashtop XDisplay, Air Display and iDisplay.

Generate Reference Pages
Another way to view the controller functions is to generate a web-page for your controller. Press the "View Functions" button in the setup dialog. The generated page is automatically opened in your default web-browser. If you have more than one controller, a page is generated for each connected controller. If you get generated pages for unused MIDI ports on your controller, you can disable these from the controller options. These generated pages are printable and you can export them to PDF from your browser.
Controller Options
If you have a controller that supports the MC-mode protocol, enable that protocol on the controller and set the Controller Mode to MC. If you have an MCU-Pro or X-Touch, the MC mode is used automatically, leave the mode set to Default.
The Import and Export Configuration buttons can be used to backup and restore your configuration. Or to take your configuration to another computer.
Assign Controller Functions
To select the Premiere Pro function to perform for each control, use the Assign Functions dialog.
Available Functions
PrControl is most useful for audio mixing and color grading with lumetri. Premiere Pro also supports a lot of commands that can be assigned to buttons.
License
The license can be used by you on any of your computers. If you have multiple people using PrControl, every individual must use a separate license. If you use both Mac and Windows, purchase a license for the system you want to use first, Then send an email to get the license for the other platform free of charge.
The Buy button in the PrControl license dialog will take you to the store page.
Tutorial Videos
Learn the basics of using PrControl by watching the tutorial videos.
Using Layers
With PrControl every control-input or button can have multiple functions.
To organize the different functions of controls and buttons, they are grouped into layers. And you select the active set of functions by choosing the appropriate layer.
You can view the functions in each layer using the extension panel. You can also generate a printable web-page with the View Functions button in the setup dialog. If you keep the extension panel open while configuring the controller, you can keep track of what you are doing. And you can see which controls are still unused.
Audio and Lumetri
If you have one of the recommended MIDI controllers, the standard configuration has audio functions in layer 1, lumetri in layer 2 and layer 6-8 are empty. Many button functions are specific to audio. And that is why layer 1 also has separate button functions. For layers 2 till 8, button functions are shared.
Switching Layers
To make a different layer active, you have to press a particular button on the controller. There are button functions that set a layer directly, like "Select Layer 1", and there are functions that go to the next or the previous layer.
- "Increase Layer"
- "Decrease Layer"
- "Select Layer 1"
- "Select Layer 2"
- "Select Layer 3"
- "Select Layer 4"
- "Select Layer 5"
- "Select Layer 6"
- "Select Layer 7"
- "Select Layer 8"
Controllers with relatively few buttons, do not have all layer functions mapped to buttons. Assign these layer functions as needed.
LED Buttons
If your controller has LED-buttons, the layer-button will light when the corresponding layer is selected. For example if you have assigned the function "Select Layer 1" to a button, this button will light up when layer 1 is selected. Buttons for increasing or decreasing the layer will not light.
Button Layers
The amount of sliders and knobs is usually much smaller than the amount of buttons. So for sliders and knobs you need more layers. That is why there are 8 layers, these are numbered 1 to 8.
For buttons there are only two layers. To avoid having to switch them separately, the button layers switch at the same time. When the active layer is 1 you also have button layer 1. And if the current layer is greater than 1, you have the button layer 2.
The reason there are button layers, is because while mixing audio, you need access to different functions. Like mute, select, solo and record, that you do not need while color correcting. In the default configuration, layer 1 is setup for audio, while layer 2 is setup for color correction.
Assigning functions in Layers
When you assign functions to controls, you always work in the currently selected layer. To start with a new layer, you must first assign a function to switch to that layer in the current layer. For example, to start working on layer 2, assign the "Select Layer 2" function to a button.
Note that while known controllers are pre-configured with layer 1 for audio mixing, you are completely free to configure the controller how you see fit. You can have audio and lumetri functions in the same layer and functions can appear in multiple layers as well.
When configuring layer buttons, try turning on the Mute checkbox in the assign functions dialog. This will temporarily stop PrControl from performing functions.
Fader Banks for Audio Channels

If you have more than 8 audio channels in your project, you can access channels beyond 8 by switching fader banks.
When you increase the fader bank, all volume, pan and channel state functions, shift to higher audio channels. If you have 8 faders for audio channels in use, bank 1 will control audio channels 1 to 8, bank 2 will control 9 to 16, bank 3 will control 17 to 24 etc. The amount of banks is automatically adjusted so you can access all channels in your current project.
The size of the bank is determined by the highest channel configured on your controller. So if for example you use only the master channel and channels number 1 to 4, the bank size is 4. When the bank size is 4, the second bank will control audio channels 5 to 8.
Master Channel
The master channel is not affected by the current fader-bank.
Fader Bank and Layers
The current Fader Bank does not change when you switch layers, but the Fader Bank only affects the controller if it has audio channel functions in the active layer. It is recommended to use
Multiple Controllers
Each MIDI controller has its own active Fader Bank.
For example if you have an X-Touch and one or more extenders, set the left most extender to the lowest bank and the main X-Touch to the highest bank number and then you can access 16 audio channels simultaneously.
Switching Fader Bank
You can assign the Increment Fader Bank and Decrement Fader Bank functions to any button you like. In addition, you can also change banks from the PrControl setup dialog. Some controllers have buttons labeled bank, fader banks or something like that, so it makes sense to use these buttons to change the active Fader Bank. The current bank is automatically saved.
Audio Insert Effects

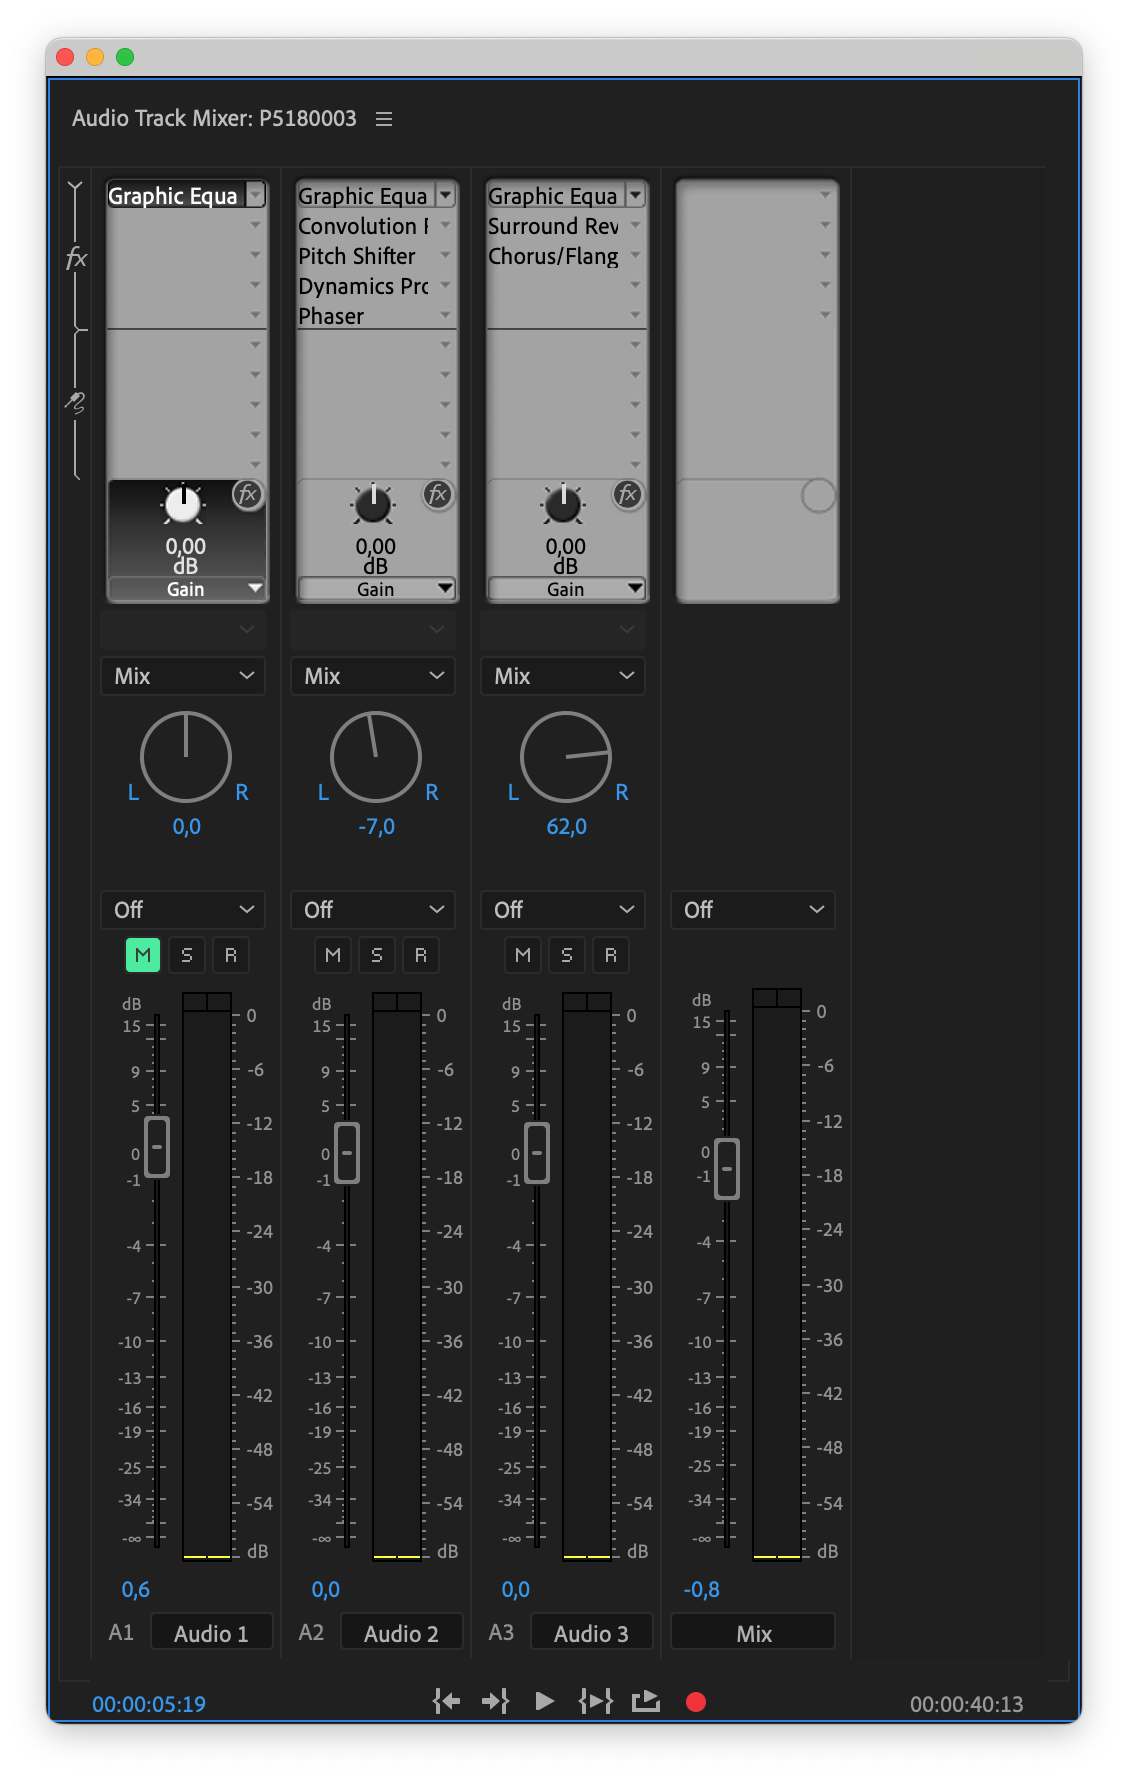
In the audio track mixer, you can add insert effects to each track. In the Premiere Pro SDK these are called channel components. To control these effects, you switch PrControl to Channel Components mode. This is a toggle function you can assign to a button.
Once Channel Components mode is active, you can control the effects for the currently selected channel or track. You can see the selected channel if you have LED buttons with the Select Channel function assigned. In Channel Components mode, the encoders that have the encoder functions "Encoder Channel" 1 to 8 are used for the effects. Encoder 1 selects the effect, the other encoders control the parameters.
If there are more than 7 parameters, you can access more parameters using the Fader Bank buttons. By increasing the fader bank, the encoders control the next bank of 8 parameters. So in the second bank, the encoders control parameters 8 to 15.
When the Channel Components mode is not active, the encoders control PAN.
Visual Feedback
You cannot see the selected effect in Premiere Pro. But the name of the effect and the parameter names are displayed in the PrControl Functions panel and on the build-in displays of the X-Touch, MCU-PRO and other Mackie Control compatible controllers. While you are turning an encoder, you can see the value of the parameter on the controller display and on the PrControl Functions panel.
MCU-PRO display:

PrControl Functions Panel:

PrControl can control the effects when they are not visible in Premiere Pro.
Adding or removing effects
After making a change to the effects, please save the project and restart Premiere Pro. PrControl cannot see the changes. The reason for this is not clear, it seems Premiere Pro does not let PrControl use the changed effects.
Component Bypass
When the Channel Components mode is active, you can toggle the bypass state of the currently selected effect on the selected track. If the button-LED is on, the effect bypass is on, so the effect is not active.
